Handicraft Embroidery Course
“सुई और धागे से सजे सपनों की शुरुआत यहाँ से करें!”
Handicraft Embroidery Courses - basic details
If you are searching for a creative, relaxing hobby that doesn’t require expensive equipment or years of training, handicraft embroidery Course is a great place to start! It doesn’t matter if you are a complete beginner or if you are someone who is interested in revisiting this craft, pretty much anyone can learn a few simple embroidery stitches that will lead to a world of beautiful, custom-made creations for yourself, your home and custom-made gifts — whether it be home décor, clothing trims, or a thoughtful gift.
In this beginner’s guide, you will learn some very easy hand embroidery stitches, and also be provided with free patterns, which you can use to practice the stitches. You don’t even need a sewing machine — just a needle, thread, fabric and a little patience! Once you finish reading this post, you can begin your very own embroidery project.
Hand embroidery, a skill we all admire, can inspire creativity, bring beauty and provide peace to our lives with just a needle and thread! As a beginner, hand embroidery can feel daunting at first, but that’s nothing to worry about! There are simple embroidery stitches you can learn, as well very easy embroidery patterns that are bound to give you confidence, allowing you to stitch like you’ve done it for years.
This guide will assist you as a beginner with all the must-knows associated with starting in hand embroidery – from the most essential embroidery patterns. We promise this will help you become familiar with simple, easy to follow stitches and patterns that will build your confidence. The best part is – If you want to personalize clothing, decorate your place, or simply enjoy a relaxing hobby, hand embroidery is a unique, life giving skill, anyone can learn.
Lorem ipsum dolor sit amet, consectetur adipiscing elit. Ut elit tellus, luctus nec ullamcorper mattis, pulvinar dapibus leo.
1. Embroidery Hoop
A wooden or plastic hoop secures your fabric taut while you stitch. Starting with a 6-inch hoop is a good plan; this size is neither too big nor too small.
Tip: Choose a screw-top hoop, which allows for better control of your fabric tension.
Look for needles labeled “embroidery” or “crewel.” These needles have a larger eye for embroidery floss. Use a size 7-9 needle for most simple beginner projects.
3. Embroidery Floss
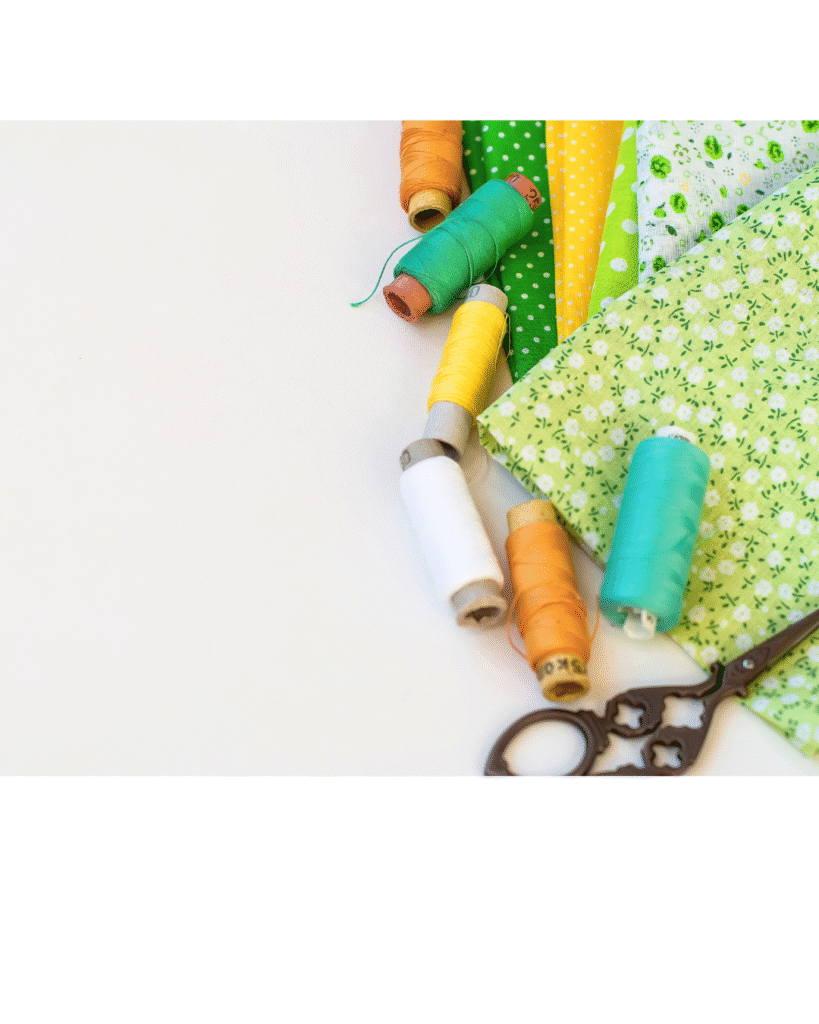
This encased, colorful thread is what you use to stitch with.Brands like DMC or Anchor are recommended, and you can separate the floss into strands depending on how thick or thin you want your stitch to be (most all floss is made up of 6 strands).
4. Fabric
You can never go wrong with cotton or linen fabric to start. These fabrics are easy to stitch through and hold up well. Begin with plain-weave cotton or muslin, as these are also beginner-friendly fabrics.
You should avoid stretchy or silky fabrics when starting out for the first time.
5. Embroidery Scissors
You should invest in a pair of small, sharp scissors for trimming your embroidery thread. It is always nice to have a little embroidery scissors in your embroidery box with sharp precision. If you find that you want to develop an embroidery space, consider getting an embroidery box itself to limit lose threads all over your entire space. Never underestimate small scissors for embroidery with easy out-of-the-way in your spool.
Simple Handicraft Embroidery Stitches for Beginners
When you have your supplies all set, it’s time to get stitching! Below are five stitches that are easy to do and are excellent choices for beginners. These stitches represent all the building blocks of most designs and will help you feel confident in using hoop, fabric, needle and thread.
✅ 1. Running Stitch
When to use it: outlines, borders, or simple patterns.
This is the most basic stitch and it is simply an up and down motion that creates evenly spaced dashes.
How to do it:
Bring your needle up through the fabric.
Go ahead a short distance down.
Repeat that until you have a line.
🔹 Pro Tip: If you want a clean look, try to keep your stitches and the gaps in between them even.
✅ 2. Backstitch
When to use it: Strong outlines, lettering and detailed lines.
This stitch gives you a solid line look and the best option for tracing your shapes or text.
How to do it:
Bring the needle up.
Insert it a short distance behind where the needle came up.
Then come up again it a stitch in front of that last stitch, and repeat, every time crossing back into the previous stitch.
✅ 3. Satin Stitch
When to use it: Filling in small shapes leaver, petals, hearts.
The satin stitch creates a smooth satin finish and a solid appearance to your design
Fraquently Ask Questions
What is hand embroidery?
Hand embroidery refers to a decorative stitch technique performed by hand with the use of a needle and thread on fabric. Basically, it is a process of using stitches in a variety of ways to make surface patterns, designs, and textures.
Can beginners do hand embroidery while learning it?
Definitely! With a few simple patterns and an understanding of some basic embroidery stitches, beginner hand embroidery would be easy to begin at home. You could find hand embroidery is relaxing, fairly inexpensive, and good for beginners.
Where can I locate simple Handicraft embroidery course patterns for beginners?
You could find simple embroidery patterns, especially for beginner designs, on sites like craft blogs, Pinterest, YouTube, and Etsy. Many other websites offer a small collection of free downloadable patterns for beginners.
How long will it take me to finish a handicraft embroidery project?
This will depend on the design, however, most beginner-level embroidery patterns will take around 1-3 hours to finish. It is possible for larger or detailed designs to take a number of days to complete.
